 DuoCam
 1.1 adds three tools that make dual camera videos look more polished. Crossfades turn layout changes and camera swaps into smooth transitions in the saved video. Blend (Pro) mixes both cameras into one see-through double exposure. And exposure control lets you tap and drag a sun slider to brighten or darken the shot, or long-press to lock focus and exposure (AE/AF lock). This guide explains each one and when to use it.
Crossfade transitions
In earlier versions, switching layouts or swapping cameras during a take produced a hard cut: one frame PiP, the next frame Split. Hard cuts are fine in an edit, but a sudden jump in the middle of a continuous shot looks like a glitch.
Since version 1.1, every layout change and every swap crossfades: for a fraction of a second, the old layout dissolves into the new one. It happens in the viewfinder and in the recorded file, so what you see is what you get. Nothing needs to be turned on; it is how DuoCam switches now.
How to use crossfades creatively
- Reveal: start a take with your face full-frame in PiP, then swap to fade into the view behind you.
- Change of topic: move from PiP to Split when you start reacting, and back when you continue the tour.
- Before and after: show the "before" in one camera, then swap to the "after" in the other.
- Pacing: in a long take, a layout change every 10 to 20 seconds keeps attention without any editing.
Changes are smoothest when the phone is still for a moment. Pause, tap the layout chip or swap, and continue.
Blend: a double exposure from two cameras (Pro)
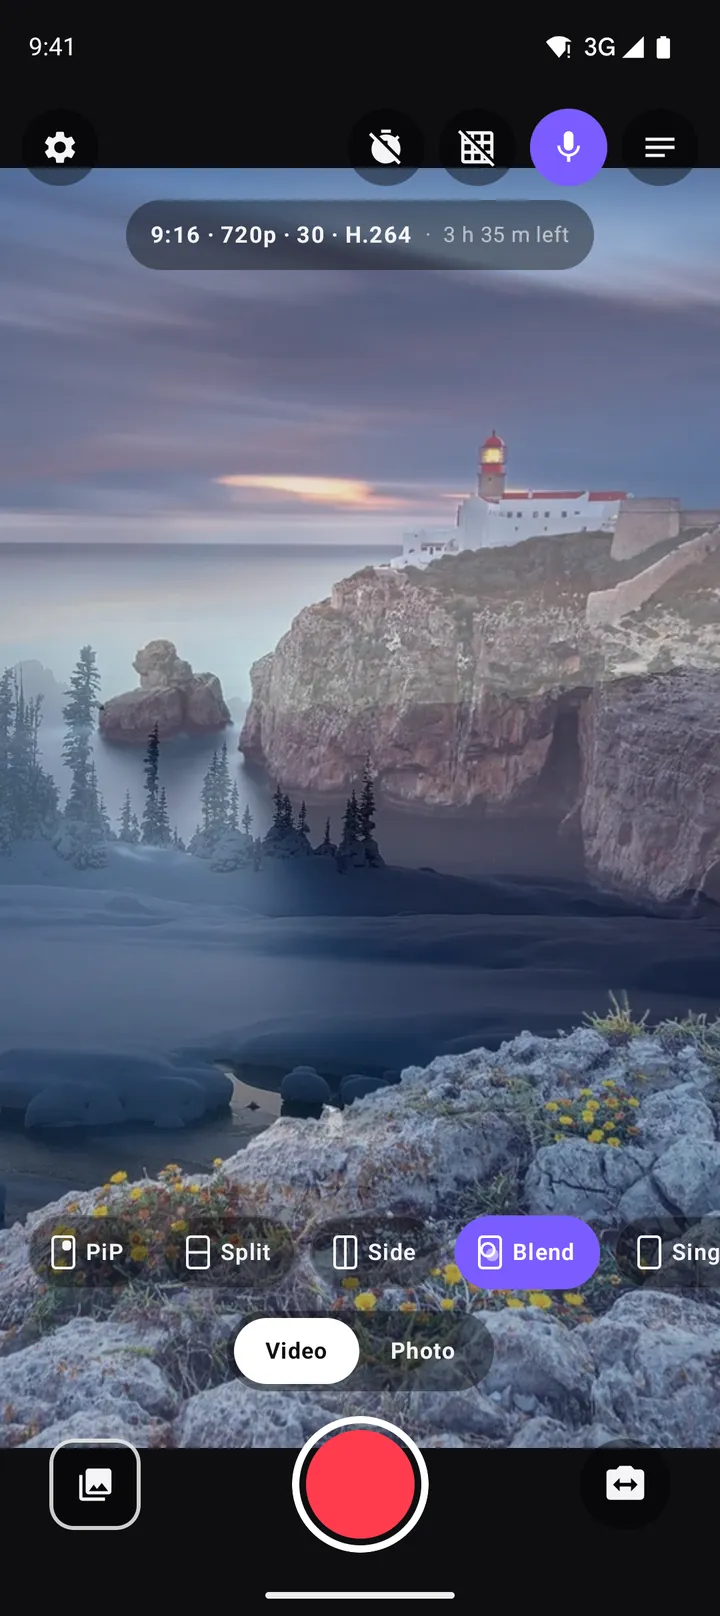
Double exposure is an old film technique: expose the same frame twice, and two images merge into one, with light areas of one showing through dark areas of the other. Photographers use it for dreamy portraits, music covers and title sequences. DuoCam's Blend layout does it live with your two cameras: the front and back pictures are mixed into one see-through image, in the viewfinder and in the recording.
How to get a good Blend
- Simple, bright backgrounds blend best. A face against a pale sky or a white wall leaves room for the other camera's scene to show through.
- Strong shapes read clearly. A profile, a skyline, trees, waves or city lights stand out in a double exposure; cluttered scenes turn muddy.
- Use contrast in brightness. Point one camera at something light and the other at something with darker areas. Where one image is dark, the other shows through.
- Move slowly. Both images move with the phone, so slow movement keeps the effect dreamy instead of chaotic.
- Try it at blue hour. Lights in a city at dusk over a face lit by a window is a classic.
Blend ideas
- Music video intros and lyric clips.
- Moody travel moments: forest over a face, the sea over a silhouette.
- Transitions: start in PiP, crossfade into Blend for a dreamy moment, and back.
- Dual photos in Photo mode for album covers and profile pictures. See dual photos.
Blend is part of DuoCam Pro, with Side by side, the circle PiP window and coloured borders.
Tap to focus and the exposure slider
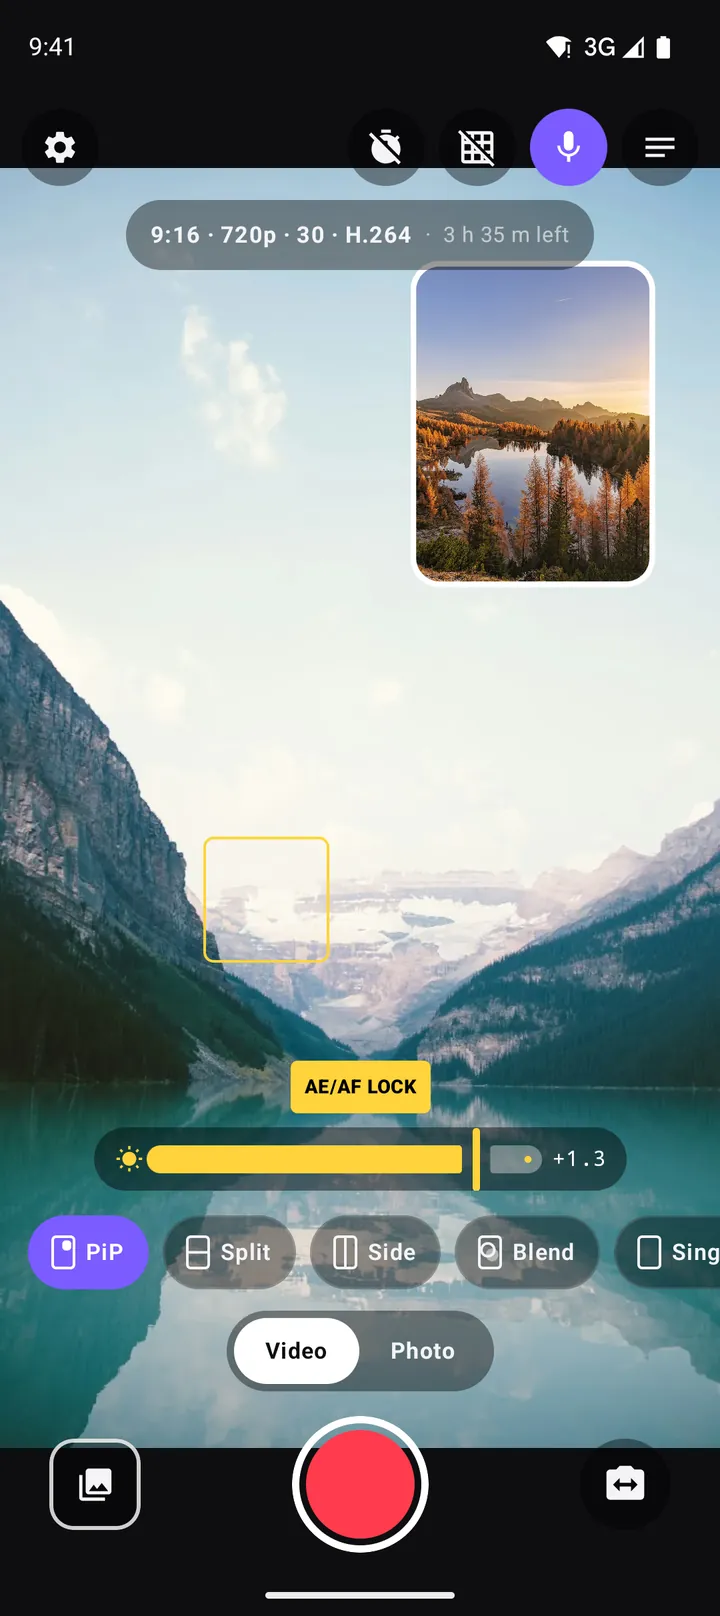
Tap anything in the viewfinder to focus on it. A focus ring appears where you tapped, and next to it a sun slider. The camera sets focus and exposure for the spot you tapped; then drag the slider up to brighten or down to darken the picture. The value, for example +1.3, is shown next to the slider in exposure stops (EV).
When to change exposure
- Backlit faces: with a bright sky behind you, tap your face and raise the exposure.
- Screens and lamps: lower the exposure so a TV, a stage or a sunset keeps its colours instead of turning white.
- Mood: a slightly darker exposure makes night scenes look like night; a slightly brighter one makes daytime feel airy.
- Split screens: match the brightness of the two halves so one does not look much darker than the other.
Small moves go a long way. Most shots need no more than one stop up or down.
AE/AF lock: hold focus and exposure
Cameras keep adjusting focus and exposure automatically. That is usually helpful, but it can ruin a shot: a person walks past and the focus jumps to them, a bright car passes and the whole scene goes dark for a second, you pan across a window and the picture "breathes".
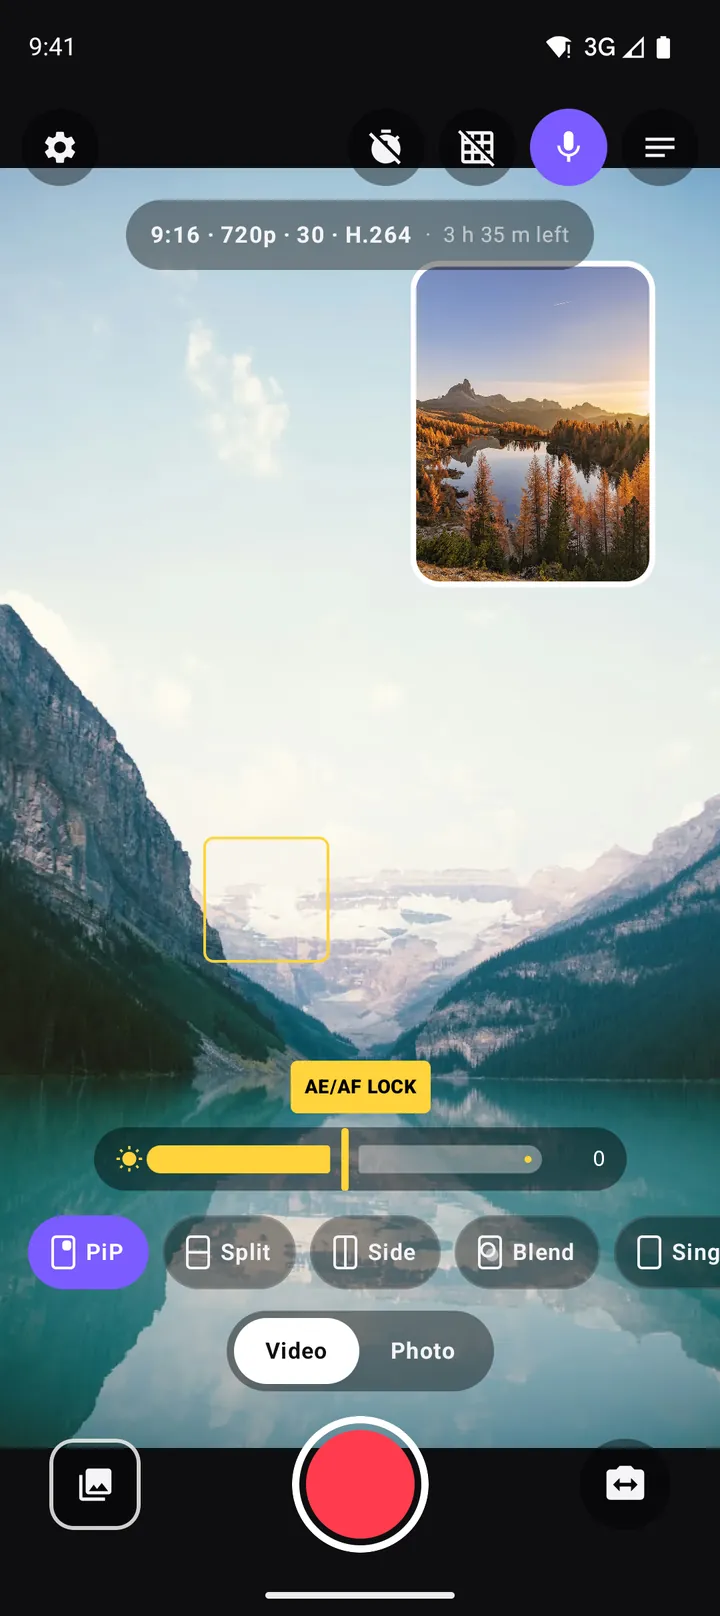
Long-press anywhere in the viewfinder to lock focus and exposure on that spot. A yellow AE/AF LOCK tag appears above the focus ring and the camera stops adjusting until you tap elsewhere. You can still drag the sun slider to fine-tune the locked exposure.
When to lock
- Filming a screen for a reaction video, so brightness does not change with every scene.
- Product shots and food: lock on the subject so hands moving in and out do not pull focus.
- Interviews in split screen: keep each face steady when people move in the background.
- Time-lapse: a locked exposure avoids flicker as clouds pass.
- Walking past windows: a locked exposure stops the picture from pumping.
Tap somewhere else to release the lock and go back to automatic focus and exposure.
Which camera does the tap control?
DuoCam applies the tap to the camera under your finger: tap inside the small PiP window to focus and expose the camera in it, or tap the main frame for the big camera. In Split and Side, tap the half you want to adjust. That lets you set each camera for its own light, which is the key to good dual camera footage, since the two cameras face opposite directions and rarely see the same brightness.
Changing the layout or swapping cameras with a crossfade resets the focus ring, because the area you tapped has moved.
Putting it together: a 30-second sample
- Open in PiP with your face big. Tap your face and raise exposure slightly against the bright sky.
- Swap: the lake fades in. Long-press the water to lock focus and exposure as you start walking.
- Switch to Blend for a few seconds as you stop and look at the view.
- Switch to Split for your closing line, and stop.
One take, four looks, no editing. That is what the 1.1 tools are for.
Common mistakes and how to avoid them
- Too many changes. A crossfade every two seconds feels nervous. Let each layout breathe for at least a few seconds.
- Blend with two busy scenes. Two cluttered images merge into noise. Simplify one camera, for example point it at the sky or a plain wall.
- Over-correcting exposure. Pushing the slider to the extremes makes skies white or shadows noisy. Small steps work better.
- Forgetting the lock. A locked exposure set in the shade will be too bright when you walk into the sun. Tap to release the lock when the light changes.
The same tools in Photo mode
Everything in this guide works in Photo mode too: tap to focus and set exposure, long-press to lock, and choose Blend (Pro) for double-exposure photos. Locking is especially useful for photos of screens and windows, where the camera otherwise keeps adjusting to the brightest area at the moment you press the shutter.
Why these small tools matter
Viewers rarely notice good exposure or a smooth transition, but they always notice bad ones: a face that goes dark when a car drives past, a jump cut in the middle of a sentence, a sky that flashes white. Fixing those moments in an editor takes time, and some cannot be fixed at all once they are recorded. Getting them right while you film, with a tap, a drag or a long-press, is the fastest way to make phone footage look deliberate.
What is free and what is Pro
Crossfade transitions, tap to focus, the exposure slider and AE/AF lock are part of the free version, in every free layout. Blend is a Pro layout, together with side by side, the circle window and coloured borders. If you try Blend in the free version, DuoCam opens the Pro screen, which lists every Pro feature and the prices Google Play shows for your country.
Frequently asked questions
What is the Blend layout in DuoCam?
Blend mixes the front and back cameras into one see-through image, like a double exposure from a film camera. It is part of DuoCam Pro and works for videos and photos.
How do I lock focus and exposure?
Long-press the spot you want in the viewfinder. A yellow AE/AF LOCK tag appears and the camera stops adjusting until you tap elsewhere.
How do I make the video brighter or darker?
Tap the viewfinder to focus, then drag the sun slider next to the focus ring up to brighten or down to darken. The value is shown in exposure stops.
Do I need to turn on crossfades?
No. Since version 1.1, every layout change and camera swap crossfades automatically, in the preview and in the saved video.
Can I adjust each camera separately?
Yes. Tap inside the small window or the half you want to adjust, and focus and exposure apply to that camera.
Is exposure control free?
Yes. Tap to focus, the exposure slider and AE/AF lock are free. Blend is part of DuoCam Pro.
Does the focus ring appear in the recording?
No. The focus ring, the sun slider and the AE/AF LOCK tag are shown only on your screen. The saved video contains the cameras only.
Try it on your phone. DuoCam is free on Google Play, with no watermark and no account. Your videos stay on your phone.
Get DuoCam on Google PlayKeep reading
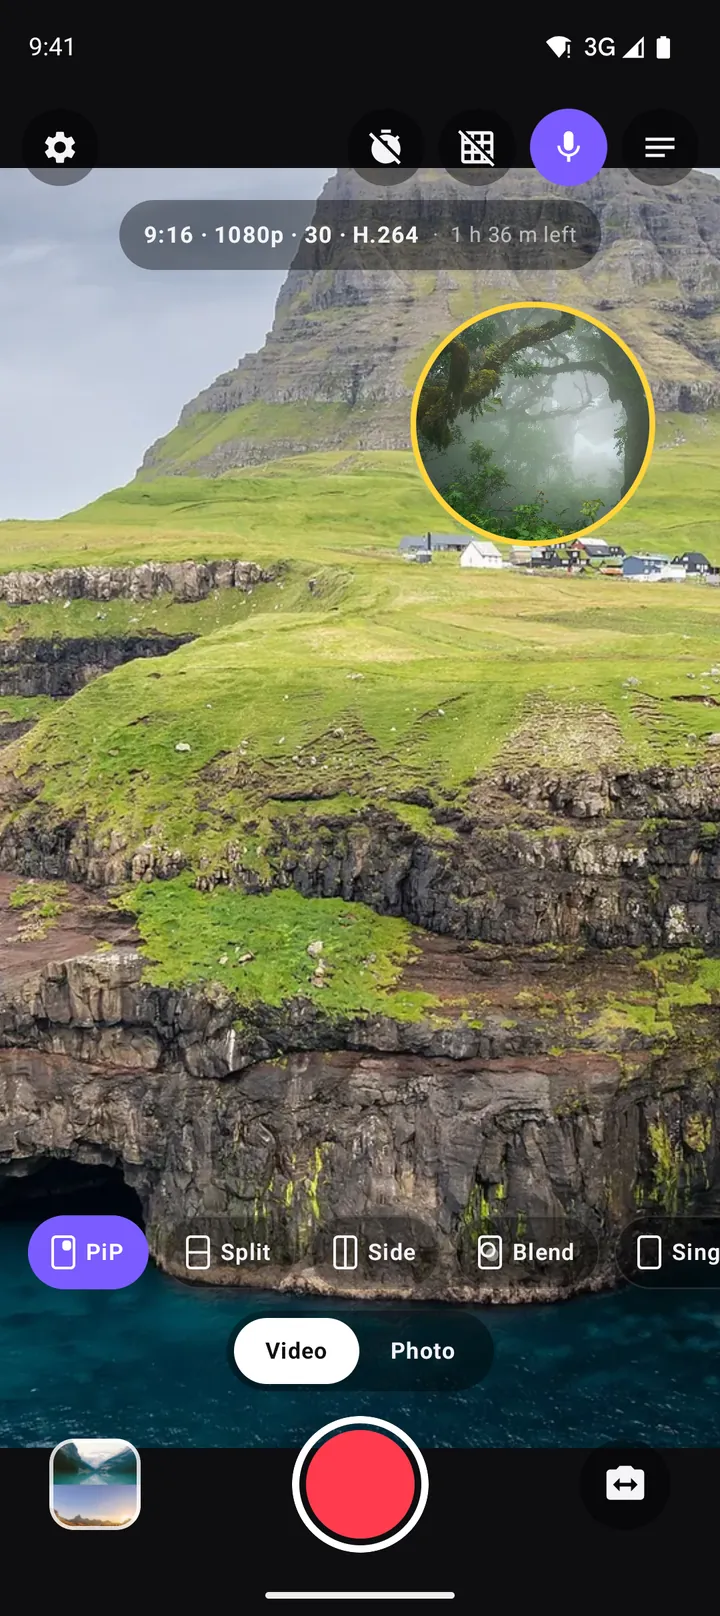
Picture-in-picture video on Android: how to record a PiP vlog in one take
How to record picture-in-picture video on Android with both cameras at once: moving and resizing the window, rounded, square and circle shapes, borders, swap, mirror and framing tips.
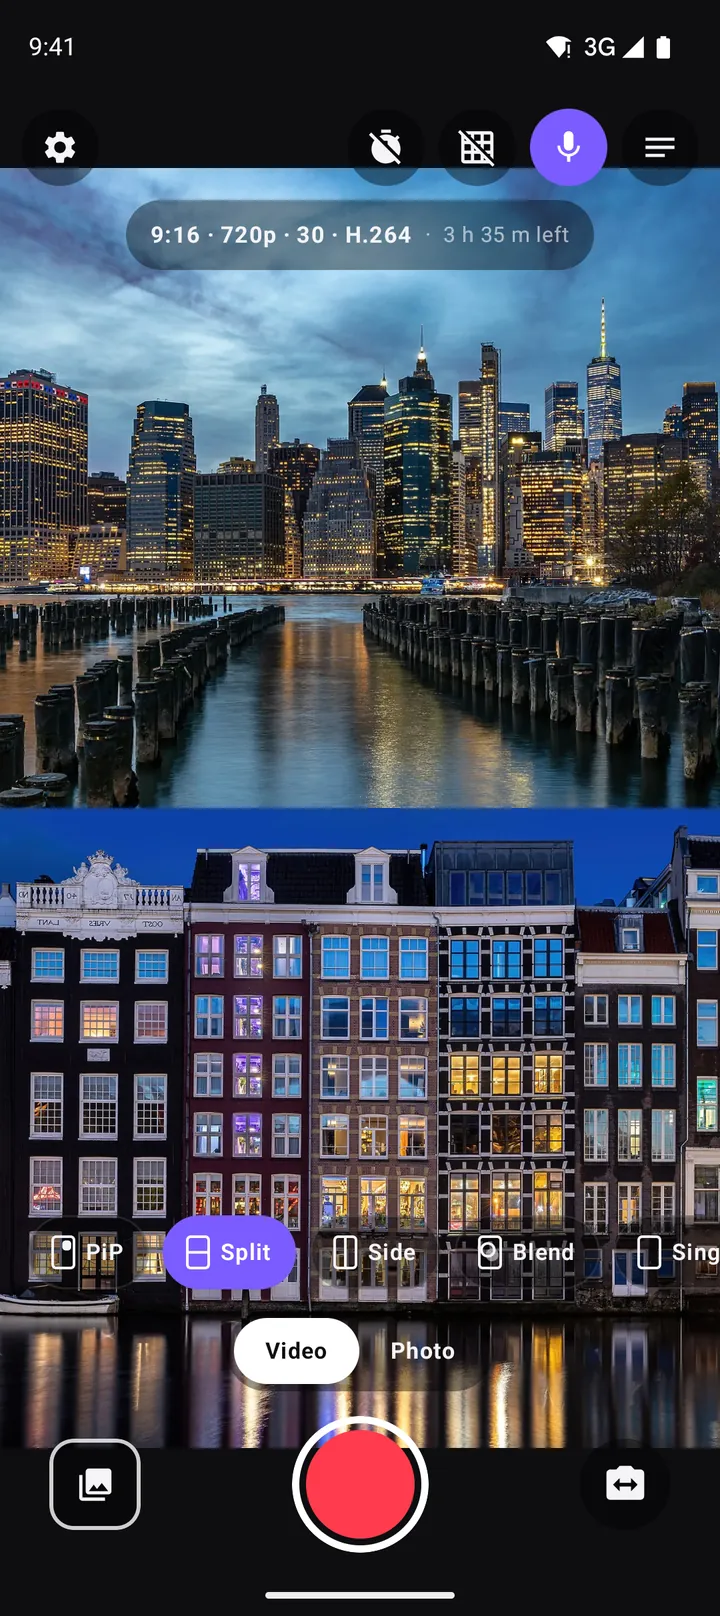
Split screen video on Android: top-and-bottom and side-by-side with two cameras
Record split screen video on Android with the front and back camera at once. When to use top-and-bottom or side-by-side, how to frame each half, the best aspect ratio, and ideas for split screen content.
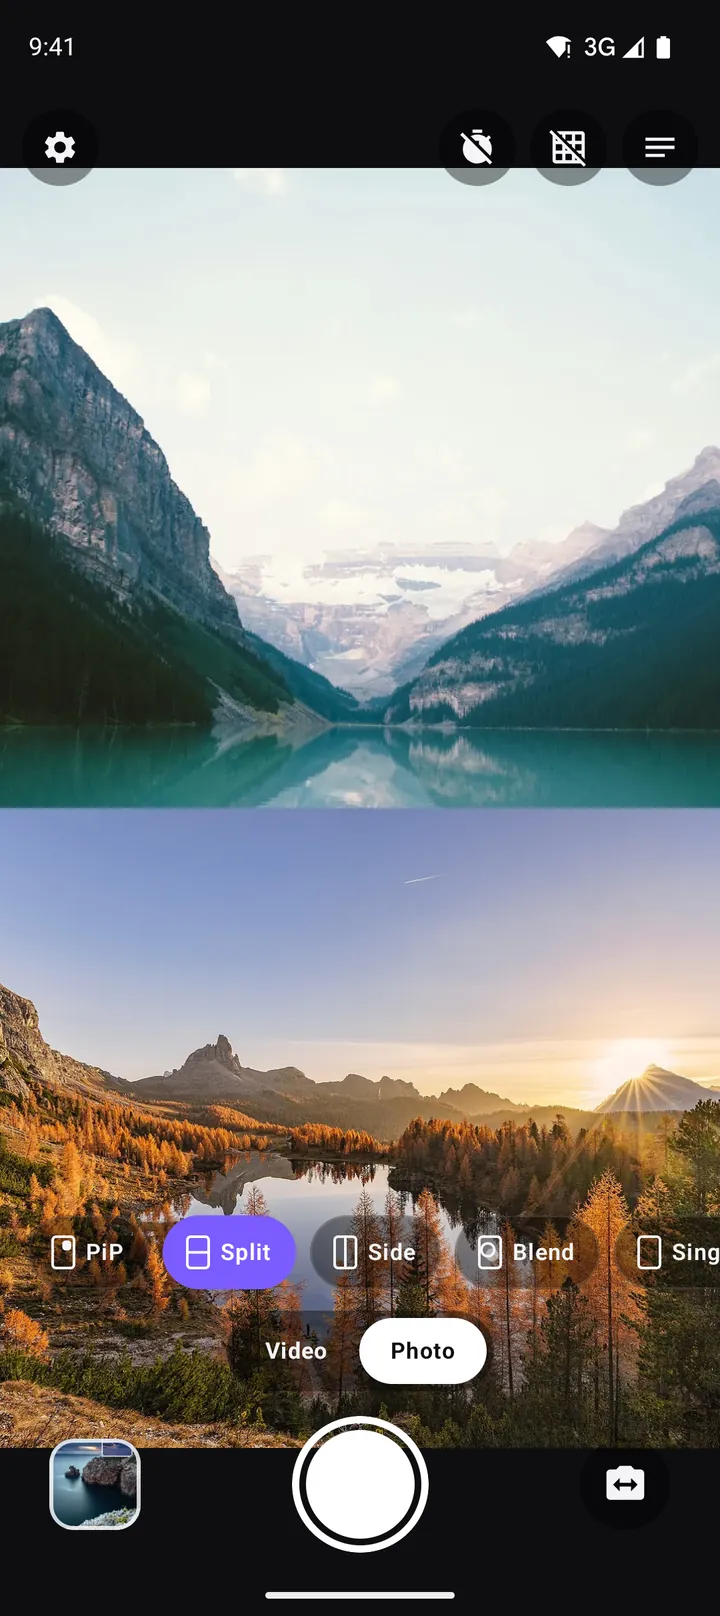
Dual photos: take a picture with the front and back camera at once
How to take a dual photo on Android that captures the front and back camera in one picture: layouts, framing, light, where photos are saved and creative ideas.